Where do I start?
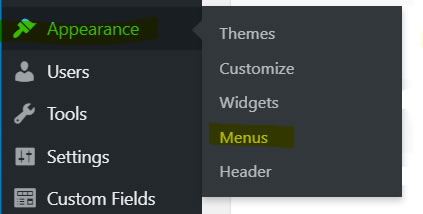
In the left-hand navigation menu, click Appearance and then Menus.
Create Navigation Items
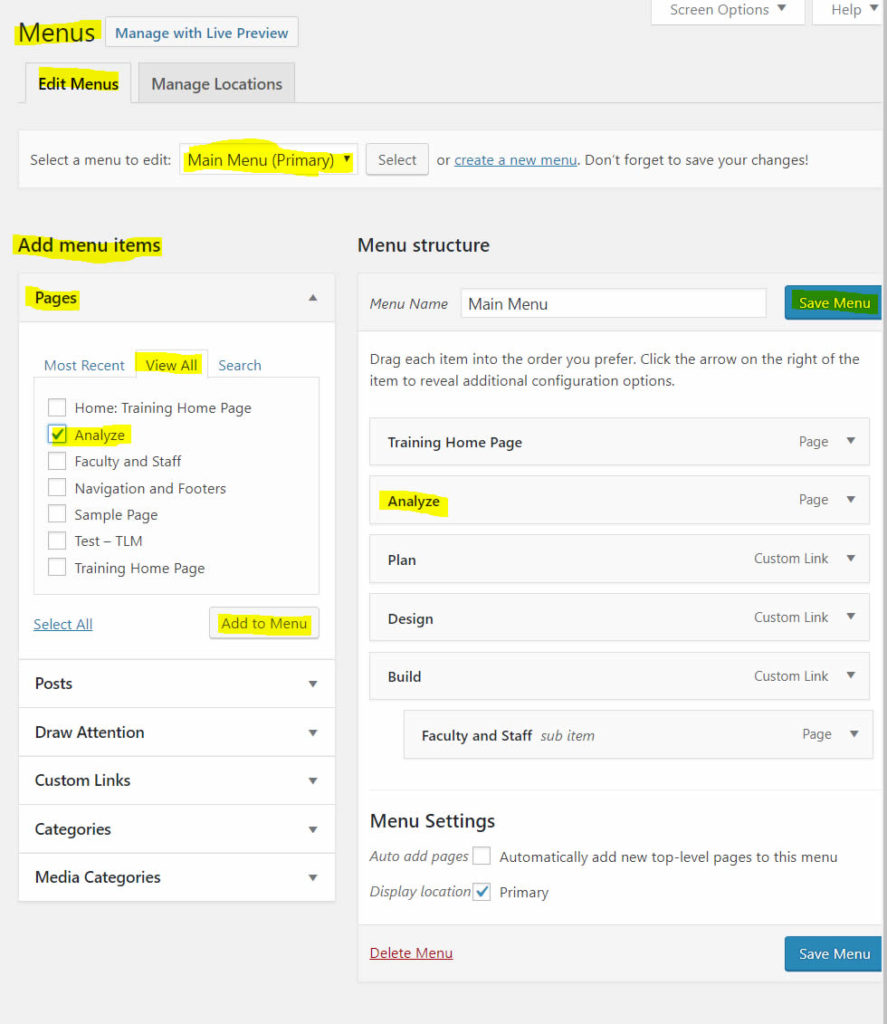
To begin adding menu items, verify that you are on the Main Menu (Primary) selection. Under the Add menu items section, you will see all the pages that have been created. Put a check mark by the page to add it, then click Add to Menu.
Looking on the right side of the page, you will see the menu structure as you build it. You can drag and drop each item into the order in which you want the navigation to appear.
Creating Unlinked Navigation Headings
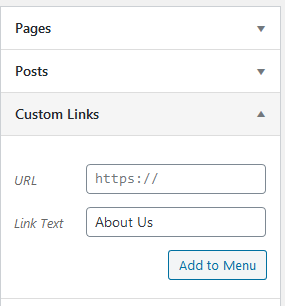
In some instances the top level of a drop-down navigation is not a link and is used as a category for multiple links/sub items. Start from Appearance and then Menus on your side navigation and click on Custom Links.
Place a # sign in the URL field, then type the name of the item in the Link Text and click Add to Menu.
Find the navigation item that was just added to the Menu Structure, open and remove the #. Save the changes.
This Custom Link field can also used to link to pages that are outside of your website. In this instance, type or paste the URL of the desired page in the URL field.
Click the Save Menu button at the bottom of the page to save the changes.
If you don’t see the open in new tab option, please contact your site administrator.
Create a Sub Item
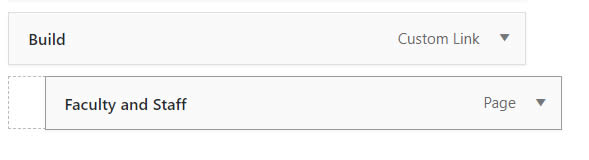
If you need a menu item to be a sub item, click the menu item and drag under and to the right where needed. You will notice a dashed line showing where to drop the item.
Your Finished Product
This is an example of what your navigation will look like on all of your pages. Notice that the Build heading contains a sub item page of Faculty and Staff.
