The UTIA Address block is used to insert a department/unit contact information in the site’s footer. It is used in the widget area of the WordPress website.
NOTE: The address widget will no longer be in use due to WordPress making it a “legacy widget”, meaning the widget will no longer be supported.
1 – Where Do I Start?
In left sidebar of WordPress, go to Appearance > Widgets

The Widgets page will then appear.
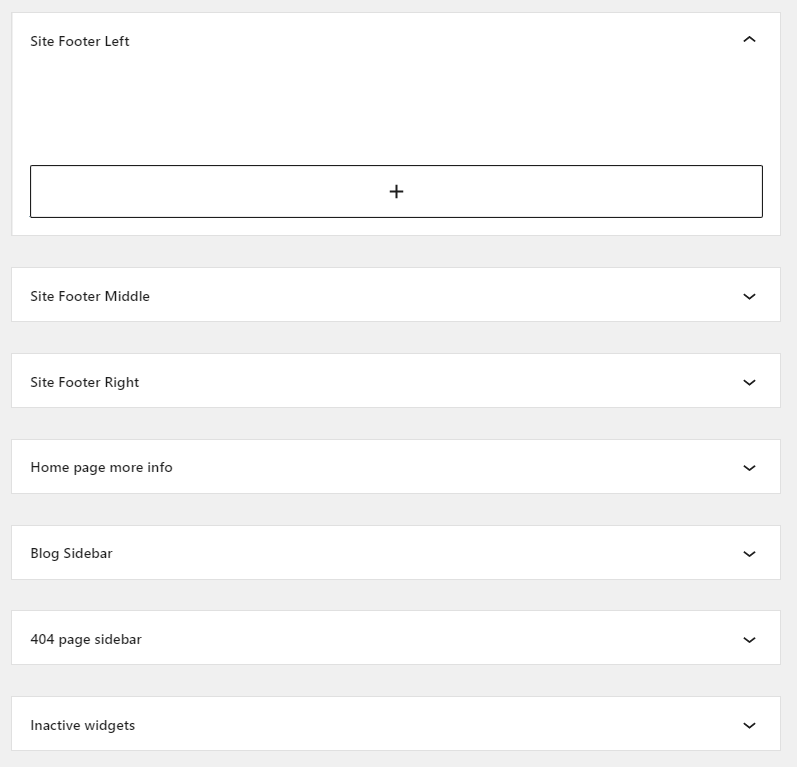
2 – Inserting the UTIA Address Block in the Widget
Best practice is to have the UTIA Address Block in the left widget and Social Media Widget in the right widget.
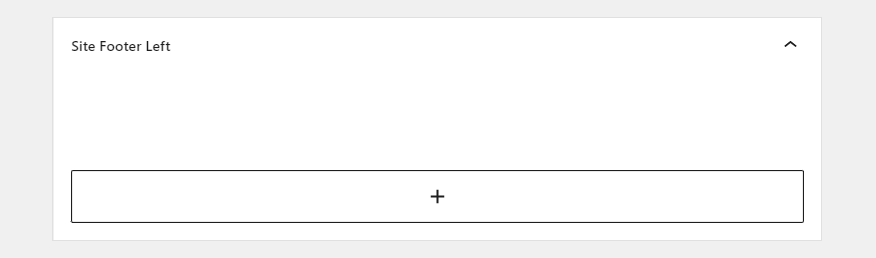
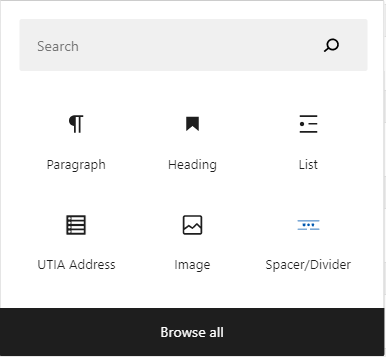
Click on the + to pull up available blocks to insert and select the UTIA Address block.
The UTIA Address block will then display in the widget with default text that states what the next step is.

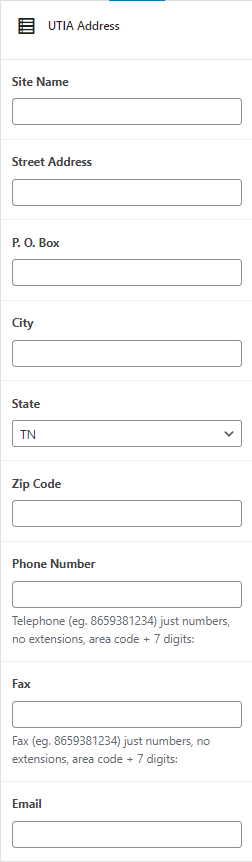
3 – Enter Contact Information for Department/Unit
Fill in the blanks with the department/unit contact information.
4 – Finished Product