1 – Where Do I Start?
Click on the UTIA Full Width Image with Text icon in UTIA Custom Blocks. The Full Width Image with Text will be placed on the webpage with default text and default image.
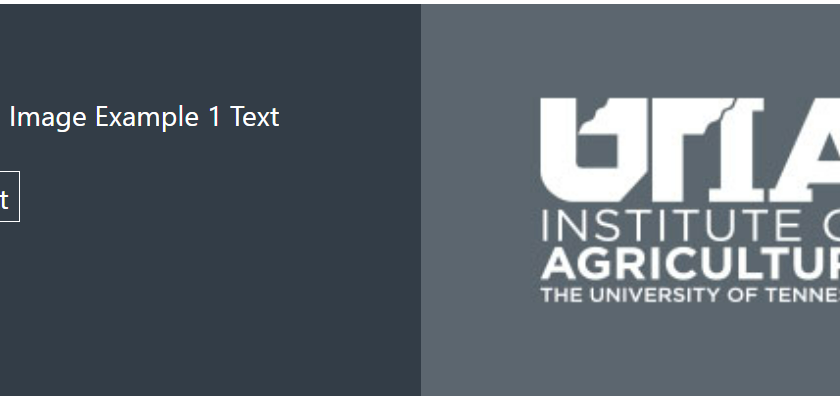
As of 1/19/2023, we now have three options for the Full-Width Image with Text. Screenshots of all three options are below.
2 – Set Options for Full-Width Image with Text
Using options in the right sidebar, set your options for Full-Width Image with Text. Be sure to replace the default text in the Content field and the default Link Text and select an image to replace the default image. Notice that there are different options for all three styles.
There is now an option to not have a button in the Full-Width Image with Text. In order to do this, ensure that the Link Text and the URL fields are blank by deleting the default text.
If using Style 3, you will need to delete the default text for Content for Style 1 and 2.

3 – Finished Products
Styles with Buttons
Style 1
Style 2
Style 3
“I always knew that I wanted a job that dealt with
international markets. Through the AREC department, I
was able to take classes that focused on international
trade and policies, while also benefiting from real-life
experiences through study-abroad trips to Guatemala
and Europe. I will be forever grateful for all the AREC
faculty and staff that poured their time into my education
and made me the professional I am today.”
Christina Greer (BS, MS Agricultural & Resource Economics, ’20, ‘22)
International Marketing Business Consultant
Tennessee Department of Agriculture
Styles without Buttons
Style 1
Style 2
Style 3
“I always knew that I wanted a job that dealt with
international markets. Through the AREC department, I
was able to take classes that focused on international
trade and policies, while also benefiting from real-life
experiences through study-abroad trips to Guatemala
and Europe. I will be forever grateful for all the AREC
faculty and staff that poured their time into my education
and made me the professional I am today.”
Christina Greer (BS, MS Agricultural & Resource Economics, ’20, ‘22)
International Marketing Business Consultant
Tennessee Department of Agriculture
Accessibility Tips
You can utilize the Ally for Website reports to identify images that do not have alt text. The wording on the report to look for is “The HTML content contains images without a description”.
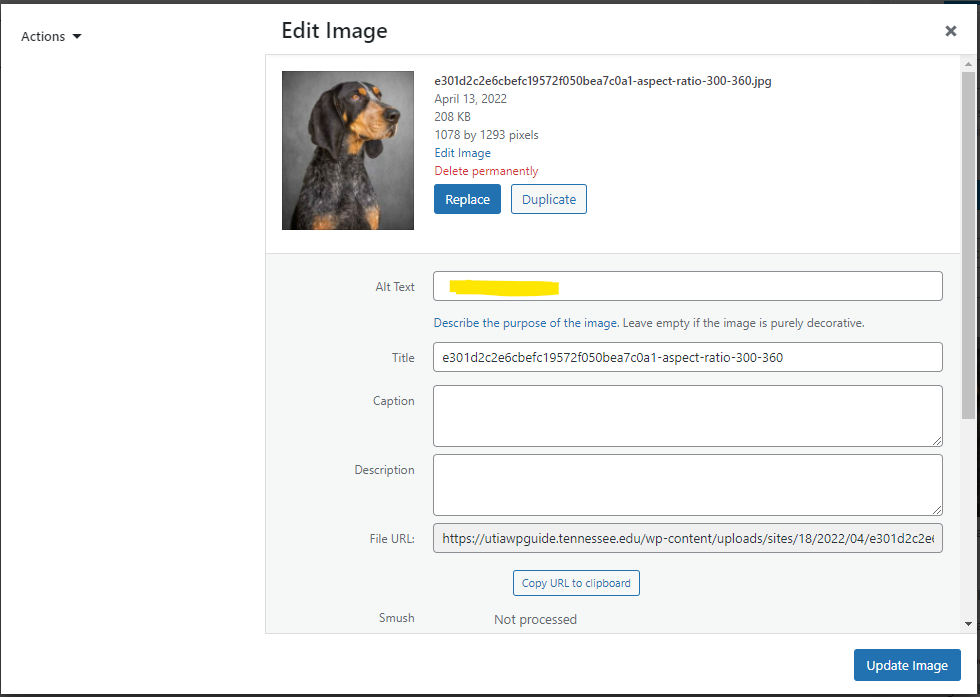
When choosing the image, you will most likely be asked to crop the image. When that happens, you need to re-enter the alt text for the image.
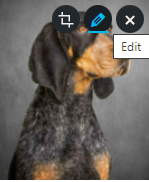
1 – Hover over the image in card and select the Edit button:
The edit button is highlighted in blue below:
2 – Add alt text:
Add alt text to the window that pops up – in the highlighted area seen in image below: